const clock = document.querySelector("clock");

function getClock(){
    const date = new Date();

    let h = String(date.getHours()).padStart(2, "0");
    let m = String(date.getMinutes()).padStart(2, "0");
    let s = String(date.getSeconds()).padStart(2, "0");

    let t = `${h}:${m}:${s}`;

    clock.innerText = t;
}

getClock();
setInterval(getClock, 1000);
console창에서 해당 페이지의 Index.html title을 확인할 수 있음title을 바꿀수도 있음 index.html에도 수정 내용이 저장됨
index.html
First App
Grab me!
왓더?? 여기에 그냥 친다고 다나온다 이게 무슨일임???
여기가 어디냐고?? index.html 밖인데 이게 무슨ㅇ리이냐?
app.js
const title = document.getElementById("title"); //getElementById함수 통해 id로 element 가져올 수 있음

title. innerText = "Got you!"

console.log(title.id);
console.log(title.className);
😀getElementById("") 이안에 id를 html에 있는 id와 맞춰줘야 innerText가 null이라는 오류가 안뜸
실행화면
//querySelector : .hello h1 .div h1 과 같이 element를 검색할 수 있게 해줌
const title = document.querySelector(".hello h1");
//const title = document.getElementById(".hello h1");

title.innerText = "Hello!"; //이렇게 하면 Grab 1!이게 또 없어짐

console.log(title);
const title = document.querySelector("div.hello:first-child h1");

console.dir(title);
console.log(title);
function handleTitleClick(){
    console.log("title was clicked!");	//title클릭시 콘솔에 이 문장 뜸
	title.style.color="blue";	//title클릭시 폰트색상 blue로 바뀜
}

title.addEventListener("click", handleTitleClick);   //click이벤트
function handleMouseEnter(){
    console.log("mouse is here!");
    title.innerText = "mouse is here!"; //마우스 접근하면 title이 이텍스트로 바뀜
}

function handleMouseLeave(){
    console.log("mouse is gone!");
    title.innerText = "mouse is gone!"; //마우스 떠날떄는 title이 이텍스트로 바뀜
}

title.addEventListener("click", handleTitleClick);   //click이벤트
title.addEventListener("mouseenter", handleMouseEnter);
title.addEventListener("mouseleave", handleMouseLeave);
긴 코드를 작성하기에는 console이 적합하지 않음 → 파일을 만들어 사용하는 것이 좋음
브라우저는 HTML을 열고, HTML은 CSS와 js를 가져오는 형식
html파일을 브라우저에서 오픈
- html 파일에서 !를 해주면 기본값으로 세팅
- <!--css와 연결--> //html 파일 주석
-//js 주석
Index.html에 아래와 같이 script내 app.js를 연동시켜주었으므로 app.js에 변경을 하면 적용됨
<script src="app.js"></script>
index.html의 console창
#02 const vs let
const와 let 이용해 variable을 만들어줌
variable 만드는 방법
1. const [상수 : 값 바꿀 필요 없을 때 사용] //const인 상태서 값 바꿔주면 오류남
2. let [값을 아래처럼 수정할때 사용 생성 시에만 적어줌]
const a=5;  //바뀌지 않는 값 의미 variable 만들어줌
const b=2;
let myName="umin";	//값 바꿀수 있음

console.log(a+b);    //콘솔에 log 또는 print //console창에서 확인가능
console.log(a*b);
console.log(a/b);
console.log("hello "+myName);

myName="uminida";

console.log("your name is "+myName);
& var를 사용해도 문제는 없으나 변수인가 상수인가를 알 수 없음 (안전하지 않음) 걍 let(얘는변수), const(얘는상수) 써라
#03 boolean
0 : on
1 : off
const amIFat=true;    //문자임    null:아무것도 없다
let something;
console.log(something, amIFat); //값을 넣지 않고 log해주면 "undefined" : 공간은 있는데 들어간 값은 없다
#04 arrays
시작과 끝에 [] 사용 각 값 구분은 , 사용
코드를 이렇게 입력한 것과 일일이 const해준 것 값 똑같이 나옴
const daysOfWeek = ["mon", "tue", "wed", "thu", "fri", "sat", "sun"];

nonsense=[1, 2, "hello", false, null, true, undefined, "nico"];

//Add one more day to the array
daysOfWeek.push("sun");
//배열 중 하나 삭제
daysOfWeek.pop("sun");

console.log(daysOfWeek, nonsense);
//배열의 5번째 문자가 알고싶다
console.log(daysOfWeek[4]);
변수명.push(""); ← add
배열명.pop(""); ← delete
#04 object
array와 구분되는 점 : 각 값마다 의미를 부여할 수 있음
ex. name : "umin" ← 이 값이 이름임을 확인가능
const player={
    name:"umin",
    points:10,
    fat:true,
};
//object내에서는 = 사용하지 않음
//console.log(player);
console.log(player);
//값 변경
player.fat=false;
player.points=player.points+15;
//object 추가
player.lastName="potato";
console.log(player);
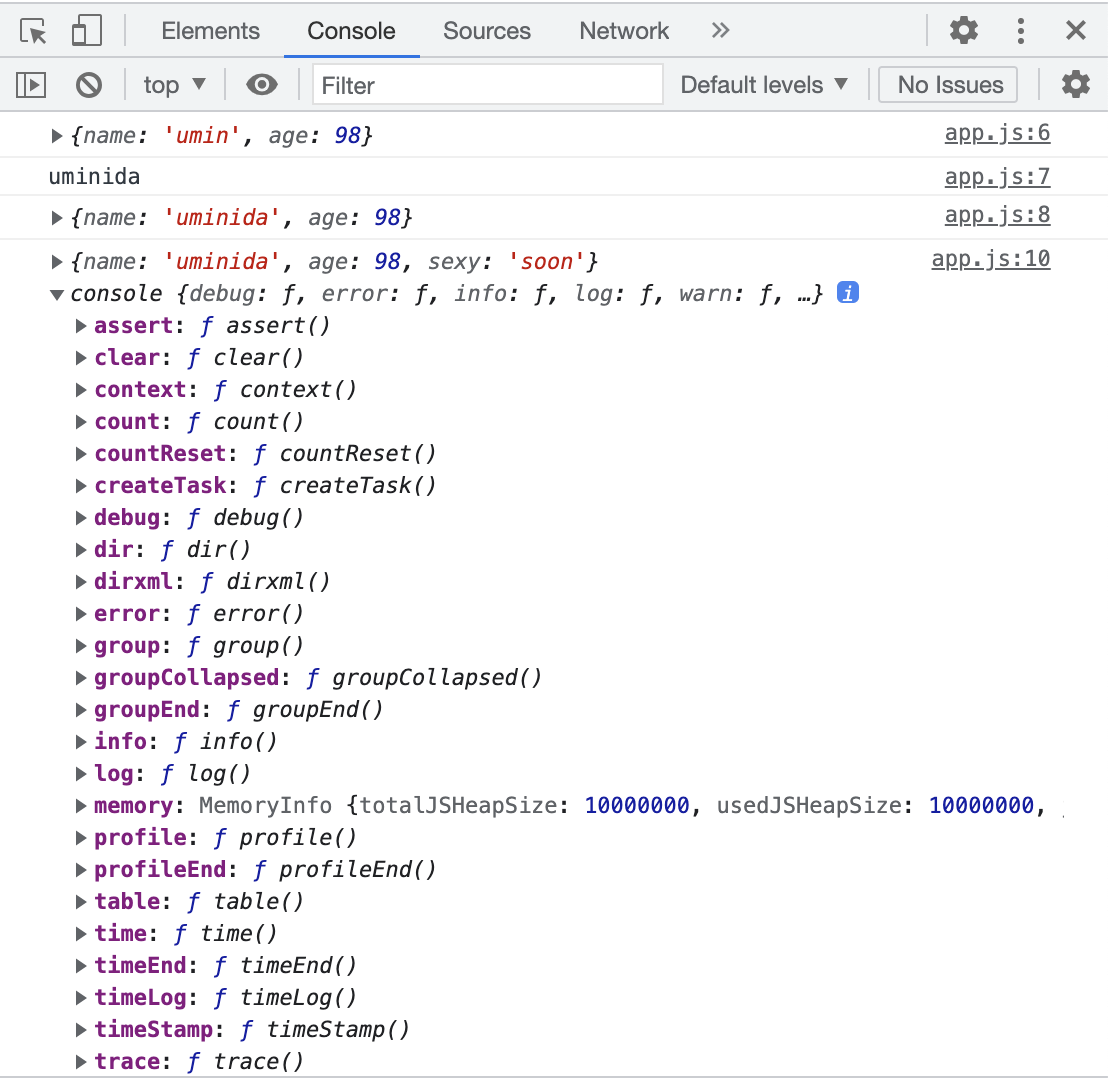
const player = {
    name : "umin",
    age : 98,
};

console.log(player);
console.log(player.name="uminida"); //name변경
console.log(player);
player.sexy="soon"; //추가
console.log(player, console);
여기서 f는 function을 의미
#05 function
여러번 입력해야하는 번거로움을 없애줌
반복 사용해야 하는 문자를 쉽게 작성할 수 있게 해줌
console.log("Hello my name is umin");
console.log("Hello my name is siri");
console.log("Hello my name is ujin");
console.log("Hello my name is jiyu");
console.log("Hello my name is yoda");

//위처럼 직접 입력하고 변경해줘야하는 번거로움을 아래와 같이 해결할 수 있음
//코드의 반복 줄일 수 있음
function sayHello(nameOfPerson, age){
    console.log("Hello my name is " + nameOfPerson + " and I'm " + age);
}

sayHello("nico", 10);
sayHello("dal", 23);
sayHello("lynn", 21);
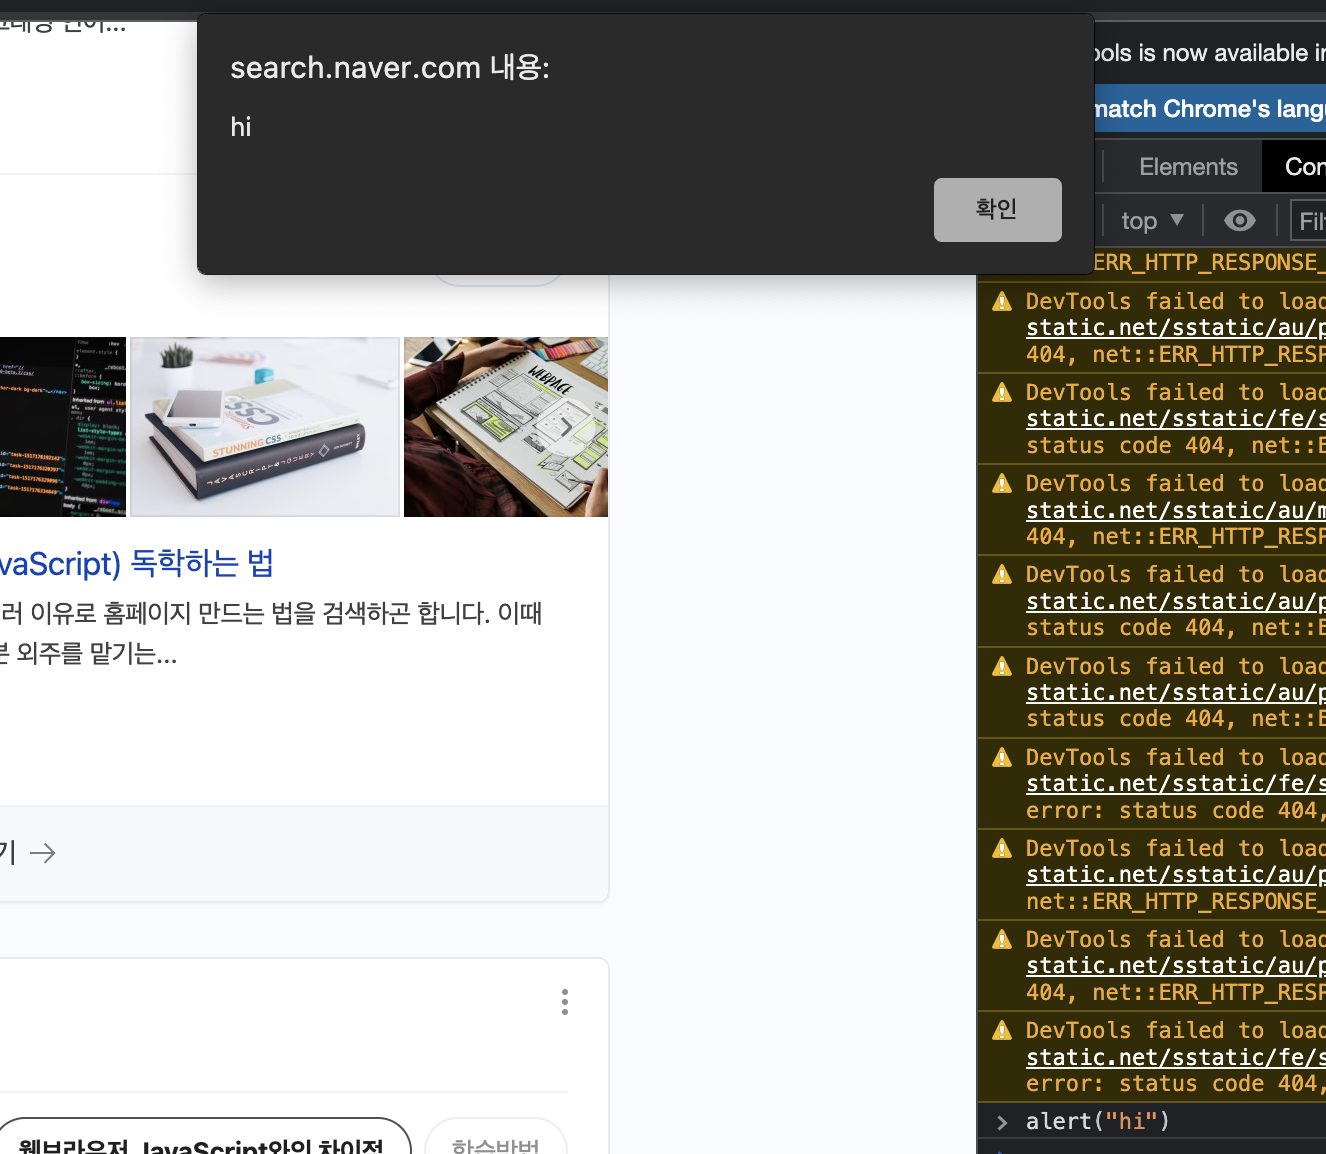
const age = prompt("How old are you?"); //age를 입력받기 위한 prompt 명령어

//입력되는 모든 값 number로
parseInt(15)

//typeof 명령어를 통해 문자형태를 확인할 수 있음
console.log(typeof age, typeof parseInt(age));
prompt명령어를 통해서 입력창이 뜸입력되는 문자는 string으로 인식되고 parseInt()를 통해 number로 변환되었기에 number가 된다
😀NaN : Not a Number
#08 if~else 조건문
///형태
//condition은 boolean(true or false)으로 구분 가능해야함
if(condition){
    condition === true
} else {
    condition === false
}
if(isNaN(age)){ //age가 number가 아닐경우 console에 출력됨
    console.log("Please write a number");
} else {    //제대로 입력되었을 경우에 출력됨
    console.log("Thank you for writing your age.");
}
=> prompt창에 숫자가 입력되면 if문의 내용이 출력되고 숫자외의 문자가 입력되면 else문의 내용이 출력된다.
const age = parseInt(prompt("How old are you?"));

if(isNaN(age) || age < 0){ //둘 중 하나만 true여도 됨 || or 기호
    console.log("Please write a real positive number");
} else if (age<18) {    //제대로 입력되었을 경우
    console.log("You are too young.");
} else if (age >= 18 && age <=50) { //둘다 true여야 함 && and 기호(둘다)
    console.log("You can drink");
} else if (age>50 && age<=80){
    console.log("You should exercise");
} else{
    console.log("You can do wharever you want.");
}
true || true === true
false || true === true
true || false === true
false || false === false
true && true === true
false && true === false
true && false === false
false && false === false
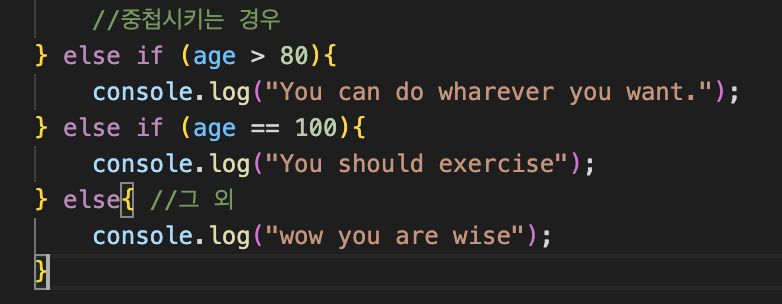
위 코드의 경우 else if 문이 중첩되어 age==100 일 경우의 출력문이 출력되지 않는다